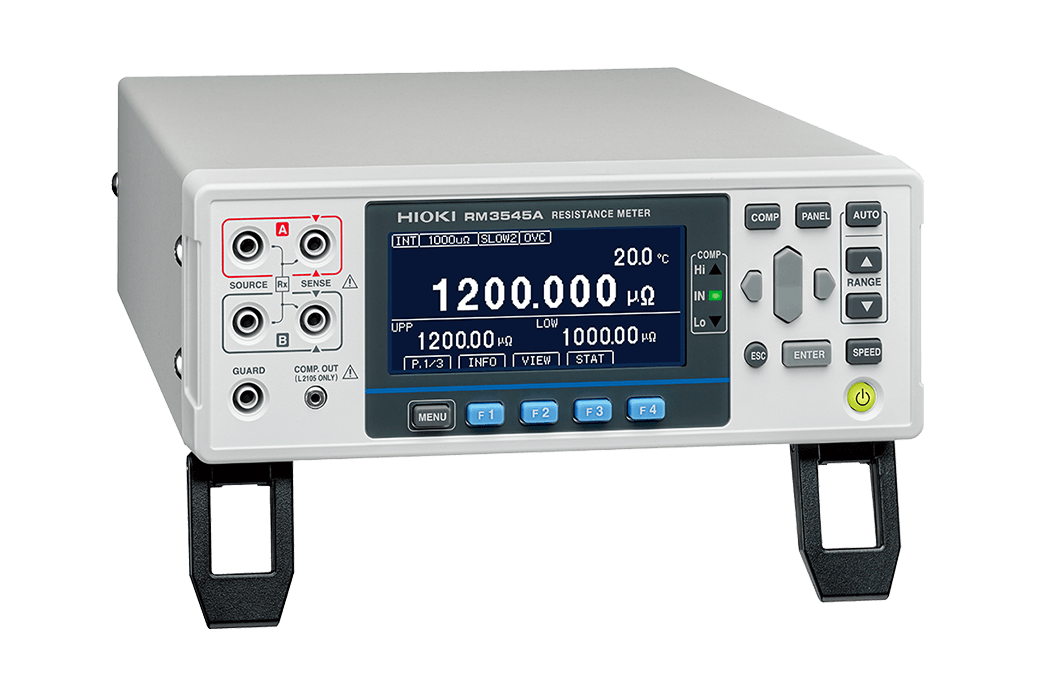
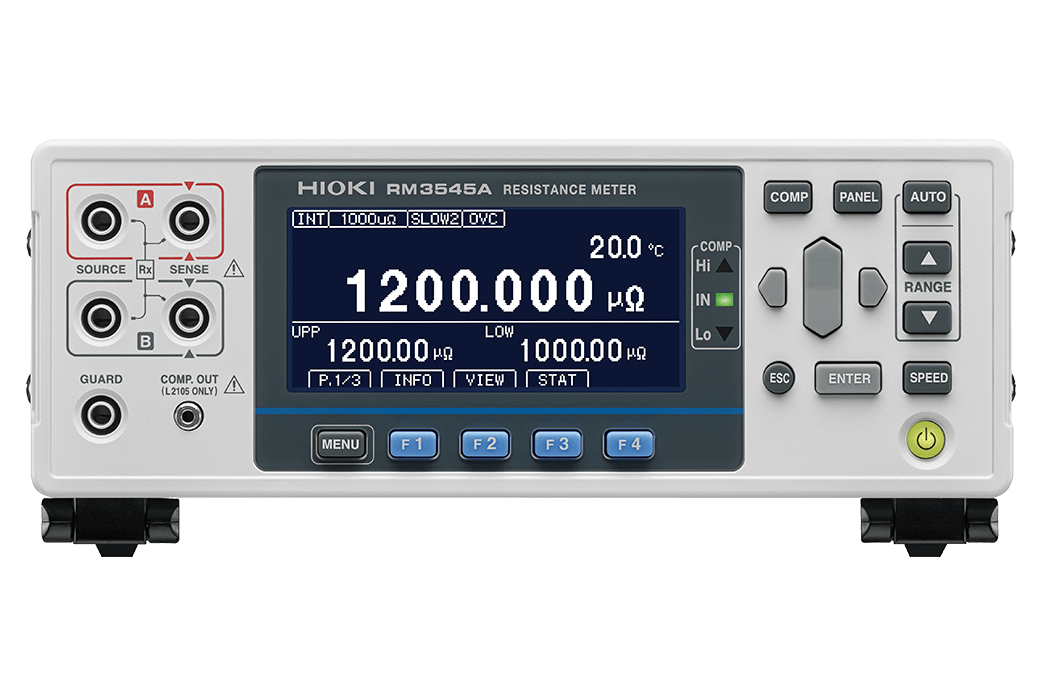
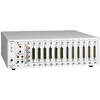
RESISTANCE METER RM3545A
New Heights in 100% Inspection.
Market leading precision tests for testing every weld or connection on your production line.
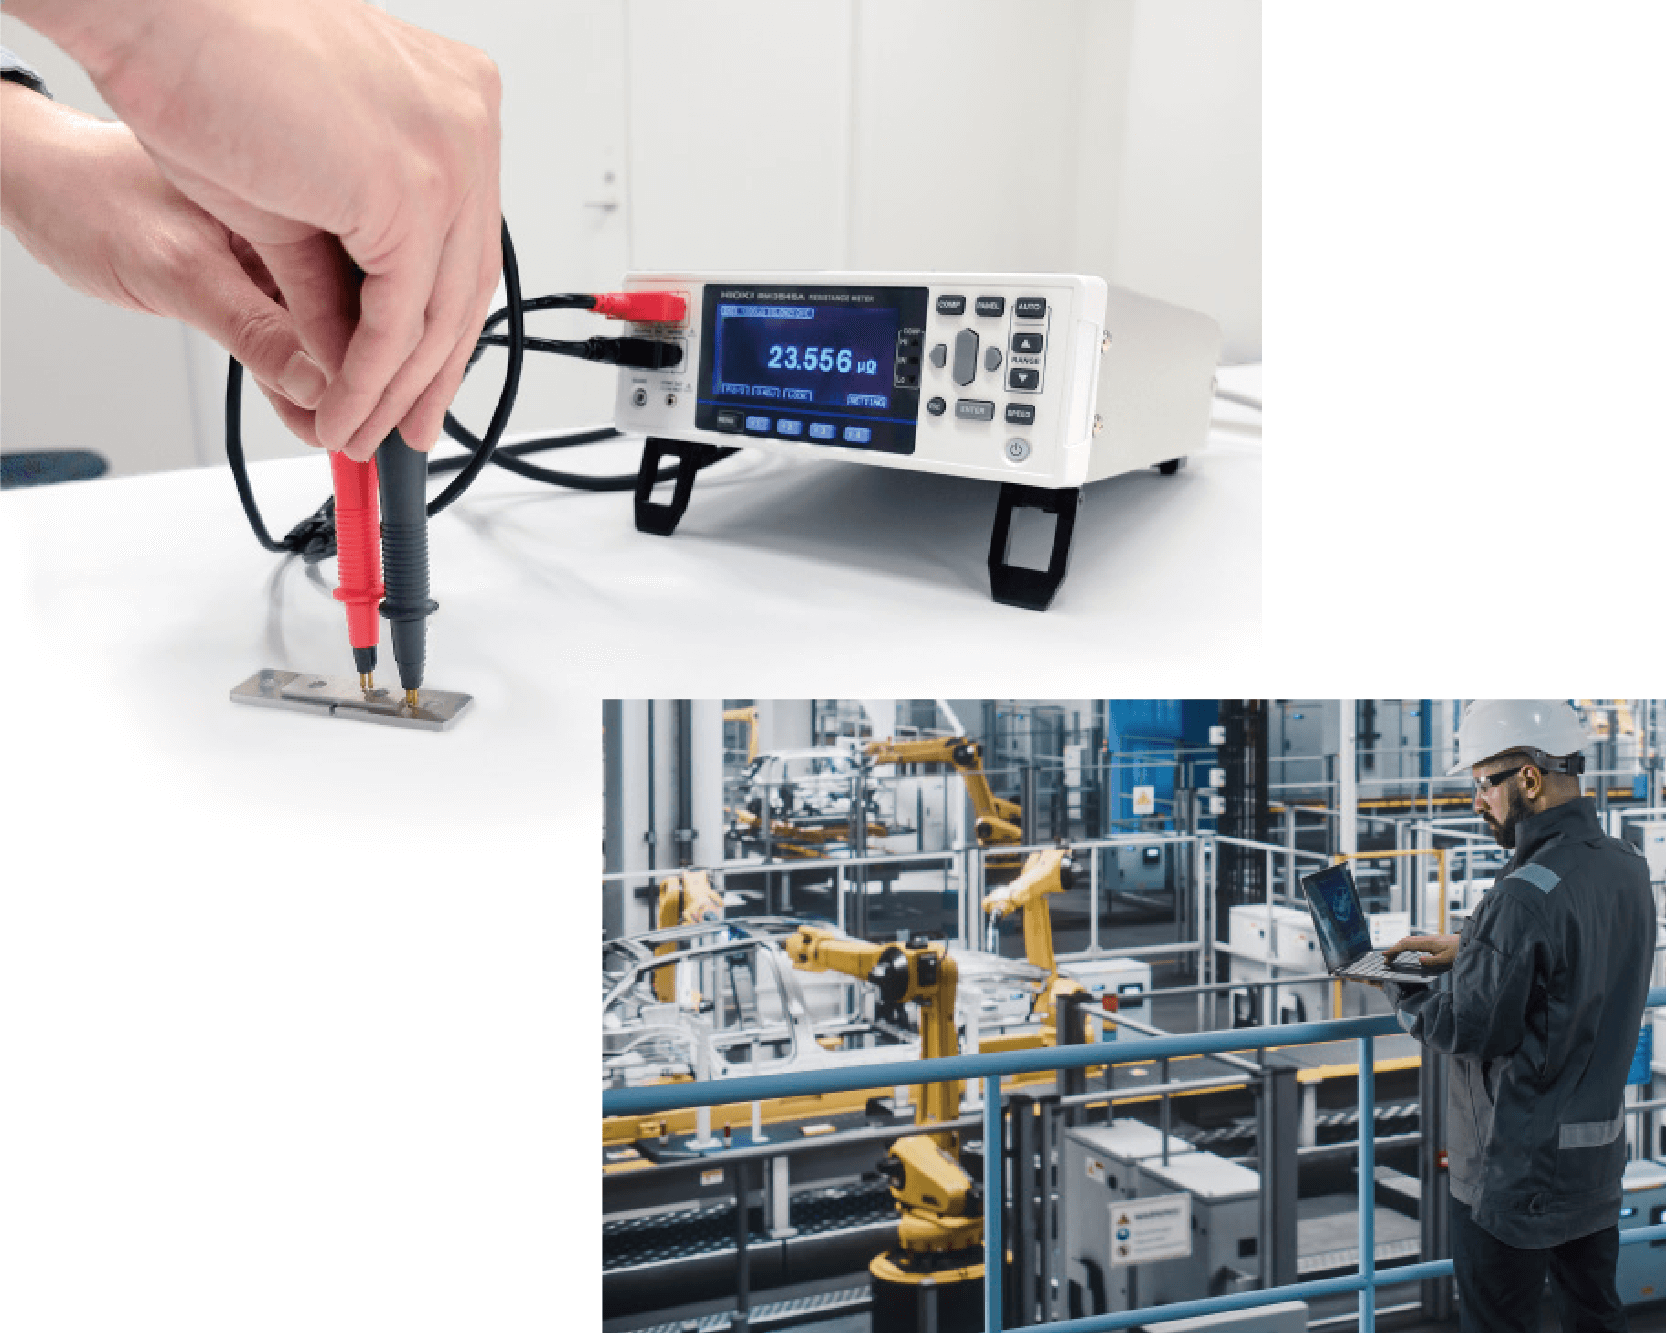
As electric mobility gains popularity, manufacturers are developing components for higher currents and voltages. Since even minuscule amounts of resistance can have a significant impact on energy efficiency and safety, more accurate quality control focusing on resistance is required. The Resistance Meter RM3545A facilitates accurate resistance measurements and is suitable for diverse applications in development and production lines.
- Manage connection quality in welded materials and other parts quantitatively
- Quantitatively verify weld quality and weld methods in EV power cables and other parts
- Use readings as indicators for thermal design and energy management
- Use accurate resistance measurements to simulate heat loss and energy efficiency
- Boost productivity by embedding the instrument in automatic test equipment
- Embed the instrument in a system without needing to worry about wiring resistance or contact resistance. The instrument is ideal for use in high-speed 100% inspections
Key Features
- 0.045% basic accuracy, 1 nΩ max. resolution, 1A max. testing current
- Measure from 1 nΩ (testing current 1 A) to 1200 MΩ
- Equipped with advanced features, ensuring precise resistance measurement (OVC, temperature measurement, and correction function)
- The RM3545A-2 can be equipped with up to two optional Z3003 Multiplexer Units, allowing it to measure up to 20 channels (using the 4-terminal method)
- High path resistance tolerance allows seamless integration into an automatic test system, eliminating concerns about wiring or contact resistance
- Advanced contact-check, comparator function, control, and communications features
Model No. (Order Code)
| RM3545A-1 | Single-channel model |
|---|---|
| RM3545A-2 | Support for the multiplexer unit |
Measure low resistance values at high precision and high, 1 nΩ resolution
Electric resistance is measured by passing a current through a measurement target such as a weld. Pass and fail judgments are generated based on variation in resistance values. A typical low-resistance weld can have resistance ranging from 10 μΩ to 100 μΩ. The Resistance Meter RM3545A provides a 1000 μΩ range and 1 nΩ resolution, allowing it to measure low resistance values with a high degree of precision. If a weld is insufficient, its resistance value will exceed that of a non-defective weld. Pass and fail results are generated for non-defective and defective welds based on minuscule differences in their resistance values. Weld quality can be managed quantitatively for all welds passing through a production line, ensuring traceability.

Ensuring precision in resistance measurement
Offset voltage correction function (OVC)
When measuring low resistance, due to the voltage generated when different metals come into contact with one another (known as electromagnetic force, or EMF), the measurement values can be unstable. The Hioki RM3545A is built in with an Offset Voltage Compensation (OVC) function to correct for the effects of EMF, making the instrument ideal for measuring low resistance of the welding points of busbars.
Temperature coefficient of resistance
The resistance values vary with temperature. To ensure consistent testing with a resistance meter, it is necessary to eliminate the effects of temperature. The RM3545A has got you covered.
- Temperature correction (TC) function
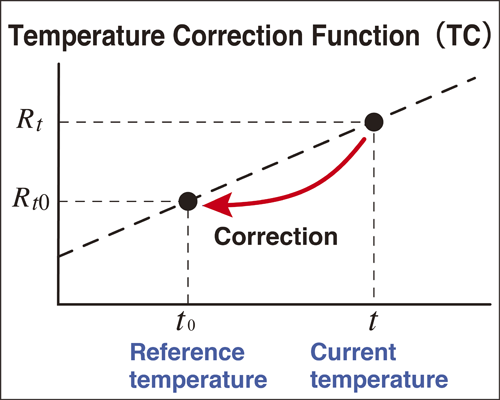
- Temperature correction functions can convert readings to resistance values at a user-specified reference temperature and display the results, even for materials such as copper wire whose resistance varies with temperature. The RM3545A's temperature correction function converts the measured resistance value Rt at the current temperature t to the resistance value Rt0 at the reference temperature t0, as shown in the figure. The Temperature Sensor Z2001 (included accessory) is used to perform temperature correction.
- Temperature measurement function
- When using the Temperature Sensor Z2001, the instrument can measure temperature with a high degree of precision (±0.5°C). It can also accept analog input from a radiation thermometer (0 V to 2 V).
- Temperature conversion (ΔT) function
- This function calculates and displays temperature rise from the measured resistance value and ambient temperature.
Manufacturing-line-ready breakthrough features
Multi-channel, one unit: made possible by installed multiplexer of RM3545A-2
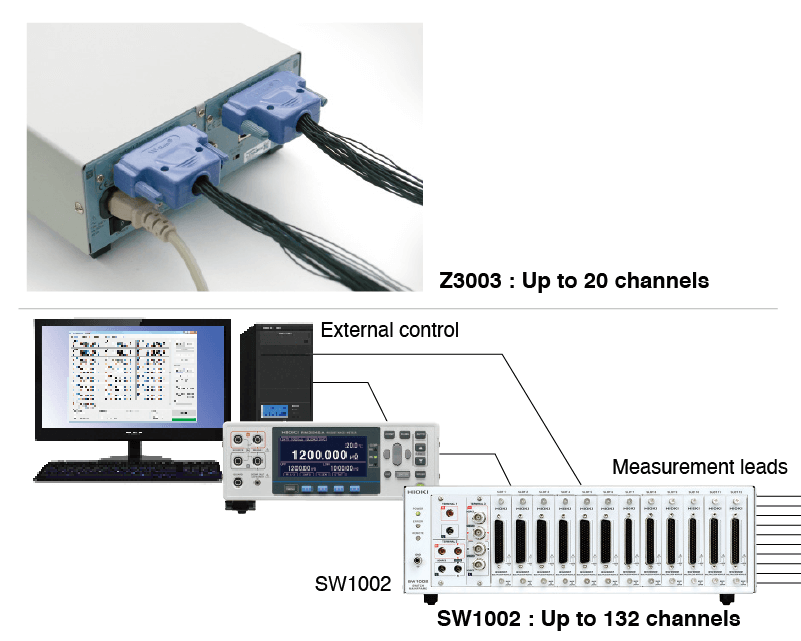
The RM3545A-2 can be equipped with up to two optional Z3003 Multiplexer Units, allowing it to measure up to 20 channels (using the 4-terminal method). Furthermore, the instrument can accommodate up to 132 channels (using the 4-terminal method) when combined with the Switch Mainframe SW1002. Responding to market demand for low-cost and space-saving.
Embed in an automatic test system without needing to worry about wiring resistance or contact resistance
Here are the key features of how the RM3545A revolutionizes automated testing in resistance measurement.
- High path resistance tolerance
- Precise measurement of low resistance necessitates a high-precision range with a large measuring current, but challenges arise due to cable wiring and probe contact resistance, known as path resistances. The RM3545A, with its higher path resistance tolerance, overcomes these challenges, ensuring seamless integration into other systems without concerns about wiring or contact resistance.
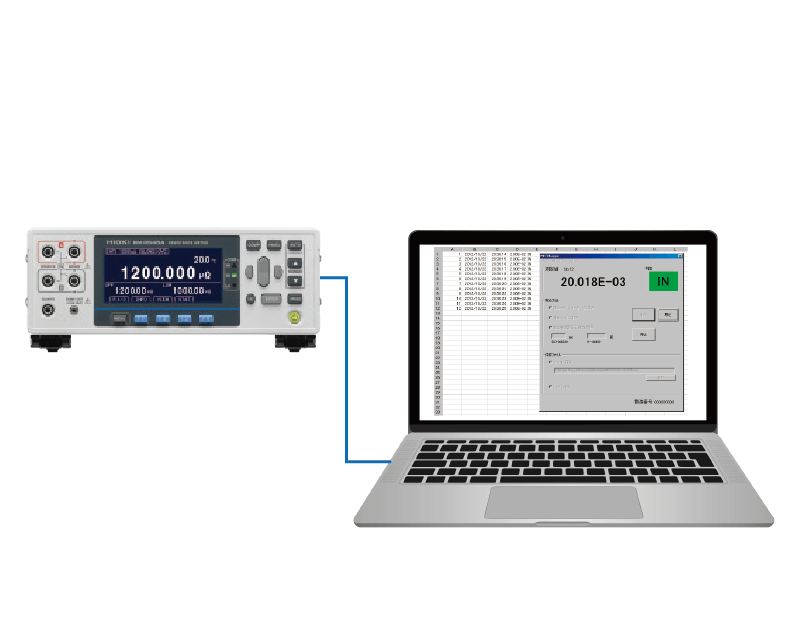
- LAN interface
- The instrument also ships standard with a LAN interface so that it can easily exchange data with other devices like computers and PLCs.
- Fast measurement speed
- Fast measurement speed (21 ms) that will speed up the tests and thus the speed of production.
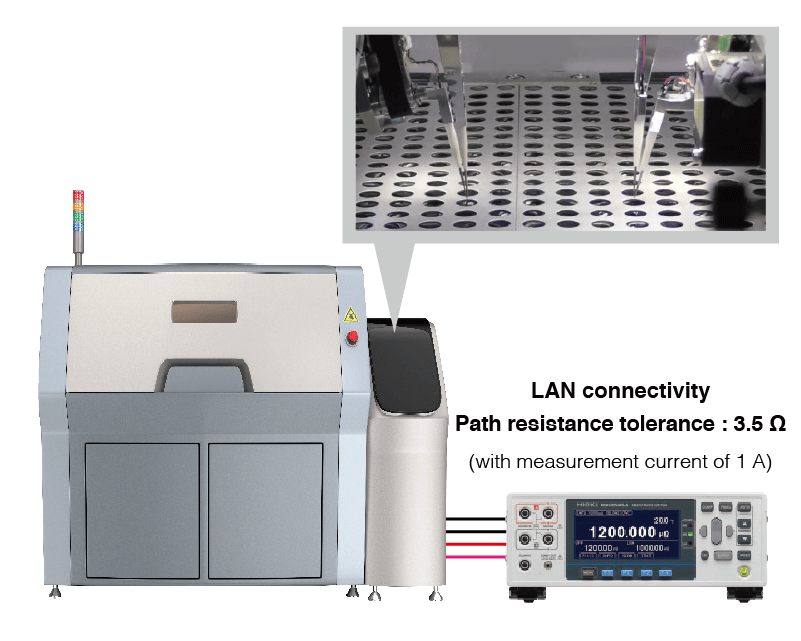
Enhancing operations with advanced equipment controls and communications
Effective equipment controls and communications are crucial to operational performance. This versatile array of capabilities improves the user experience and simplifies difficult tasks. Explore the aspects that make these functions essential.
- Command monitor function
- This function displays responses from communications commands and queries. It can significantly reduce the number of debugging man-hours when building systems.
- USB keyboard mode (HID)
- This function allows the instrument to automatically enter measurement results in Excel® or a text editor, freeing the operator from troublesome data entry work.
- Sequence maker
- Sequence Maker is an add-in that lets you implement integrated control of instruments with Excel®. It lets you easily check the control procedures when controlling automated or labor-saving equipment.
Learn more about Sequence Maker - LabView
- Embracing compatibility with LabView(*1), a widely used system design and automation software, our system becomes a versatile player in the realm of instrumentation.
- *1:LabVIEW Driver is the trademark or registered trademark of National Instruments.
Basic specifications
| Resistance range (13 ranges) | [Range, Maximum display value, Resolutions, Testing current (Measurement current) ] 1000 μΩ: 1200.000 μΩ, 1 nΩ, 1 A 10 mΩ: 12.000 00 mΩ, 10 nΩ, 1 A 100 mΩ: 120.000 0 mΩ, 100 nΩ, 1 A 1000 mΩ: 1200.000 mΩ, 1 μΩ, 100 mA 10 Ω: 12.000 00 Ω, 10 μΩ, 10 mA 100 Ω: 120.000 0 Ω, 100 μΩ, 10 mA 1000 Ω: 1200.000 Ω, 1 mΩ, 1 mA 10 kΩ: 12.000 00 kΩ, 10 mΩ, 1 mA 100 kΩ: 120.000 0 kΩ, 100 mΩ, 100 μA 1000 kΩ: 1200.000 kΩ, 1 Ω, 10 μA 10 MΩ 12.000 00 MΩ, 10 Ω, 1 μA 100 MΩ (100 MΩ range high-precision mode): 120.000 0 MΩ, 100 Ω, 100 nA 1000 MΩ: 1200.0 MΩ, 100 kΩ, 1 μA or less |
|---|---|
| Representative accuracy (High mode, OVC function enabled, SLOW2, no zero adjustment) | 1000 μΩ range: ±0.045% rdg ±0.010 % f.s. 10 mΩ range: ±0.045% rdg ±0.001 % f.s. 100 mΩ range: ±0.045% rdg ±0.001 % f.s. 1000 mΩ range: ±0.012% rdg ±0.001 % f.s. 1000 Ω range: ±0.006% rdg ±0.001 % f.s. |
| Testing current (Measurement current) | High mode: 1000μΩ (1 A) to 1000 MΩ (up to 1 μA) Low mode: 100 mΩ (100 mA) to 100 Ω (1 mA) Low power mode (LP): Low power measurement with measurement current and open circuit voltage down to 20 mV LP1000 mΩ (1 mA) to LP1000 Ω (5 μA) |
| Measurement speed | Representative value: FAST (2.3 ms) / MED (50 Hz: 22 ms, 60 Hz: 19 ms) / SLOW1 (102 ms) / SLOW2 (202 ms) PR10 mΩ range*: FAST (21 ms) / MED (50 Hz: 41 ms, 60 Hz: 37 ms) / SLOW1 (121 ms) / SLOW2 (221 ms) |
| Path resistance tolerance (reference values) Path resistance between SOURCE B and SOURCE A (other than measurement target) |
Range: 100 mΩ or less (PR* mode off) : 2.6 Ω Range: 100 mΩ or less (PR* mode on) : 3.5 Ω Range: 1000 mΩ: 15 Ω Range: 10 Ω : 150 Ω Range: 100 Ω : 100 Ω Range: 10 kΩ : 500 Ω Range: 100 kΩ or greater: 1 kΩ |
| Maximum open-terminal voltage | Range: 1000 Ω or less: 8.0 V Range: 10 kΩ or greater: 20 V |
| Temperature measurement | Temperature Sensor (Z2001[included accessories]): -10.0℃ to 99.9℃ Analog input (Ex: Infrared thermometer): DC 0 V to 2.0 V |
| Multiplexer (built-in option)* *RM3545A-2 only |
Multiplexer unit Z3003 Number of installable units:Max. 2 Maximum number of channels : 20 channels (4-wire method), 42 channels (2-wire method) Switching time : 30 ms |
| Multiplexer (external option) | Switch Mainframe Maximum number of channels (SW1001): 33 channels (4-wire method) Maximum number of channels (SW1002): 132 channels (4-wire method) Switching time:11 ms |
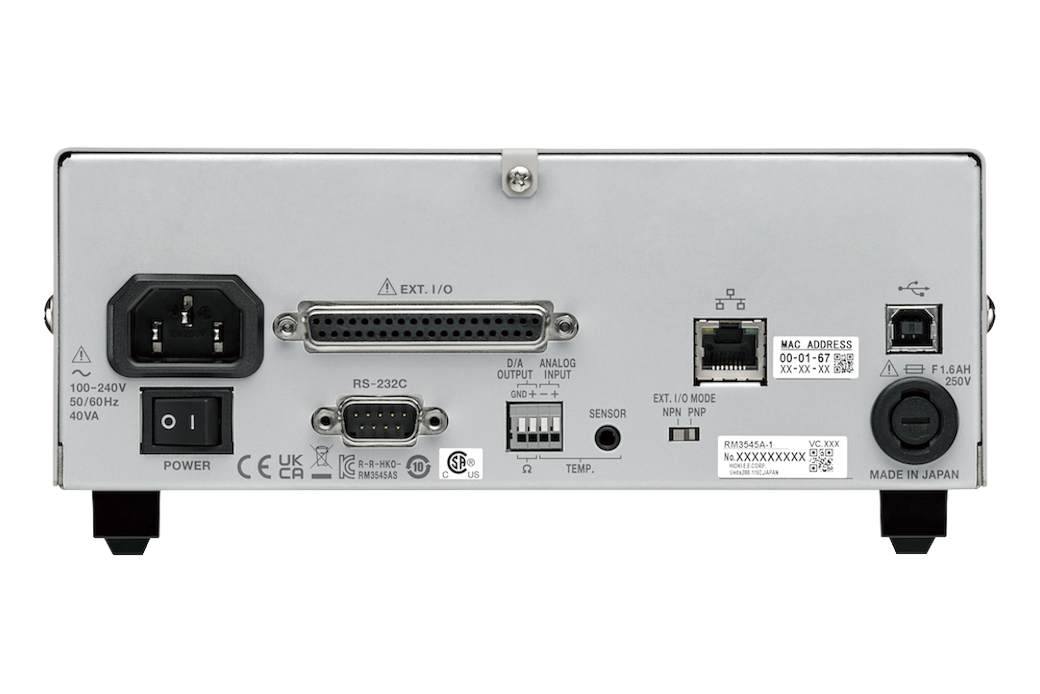
| Communication interfaces | LAN (TCP/IP, 10BASE-T/100BASE-TX), RS-232C (Max. 115200 bps, also used as printer interface), USB, EXT I/O (D-sub 37-pin, Analog output (D/A output voltage range: DC 0 V to 1.5 V ) |
| Functions | Contact check, Zero adjustment (within each range ±50% f.s.) *1, Zero-adjustment-free accuracy guaranteed, OVC function, Contact improvement function (max. applied voltage: 5V; max. applied current: 10 mA), Low-power mode (maximum open voltage: 20 mV), Auto-hold function, Comparator, Temperature measurement function, Temperature correction (TC) function, Temperature conversion (ΔT) function, Statistical calculation function, Delay function, Averaging function, Saving panels (saving of measurement conditions), Data memory function, Command monitor function (display of send/receive status of commands and queries),LabVIEW® Driver compatible*2 *1: Zero adjustment forcibly disabled for 100 MΩ or greater *2: LabVIEW Driver is the trademark or registered trademark of National Instruments. |
| Power supply | 100 V to 240 V AC, 50 Hz/60 Hz, Rated power consumption: 40 VA max. |
| Normal power consumption (Reference value) | 16 W (Testting current 1 A, LCD on) |
| Dimensions and mass | RM3545A-1: 215 mm (8.46 in) W × 80 mm (3.15 in) H × 306.5 mm (12.07 in) D, 2.7 kg (95.2 oz) RM3545A-2: 215 mm (8.46 in) W × 80 mm (3.15 in) H × 306.5 mm (12.07 in) D, 3.4 kg (119.9 oz) |
| Included accessories | Power cord ×1, Temperature sensor Z2001 ×1, Male EXT I/O connector ×1, EXT. I/O connector cover ×1, Spare fuse (F1.6AH 250 V)×1, Start up guide ×1, Operating Precautions ×1, Instruction manual ×1 |
*PR: Pure Resistance
Measurement Leads (6)
The Z2001 is bundled with the RM3545A series
The L2100 is for low resistance measurement. Accuracy is guaranteed only for the following ranges with a measurement current is 100 mA or more.
1000 μΩ range (HIGH, LOW), 10 mΩ range (HIGH, LOW), 100 mΩ range (HIGH, LOW), 1000 mΩ range (HIGH only)
About lead length
A: From junction to probe, B: Probe length, L: Overall length
Note: For L2101 to L2103, length “A” can be extended by roughly 1.1 m (3.61 ft) by cutting the binding tube.
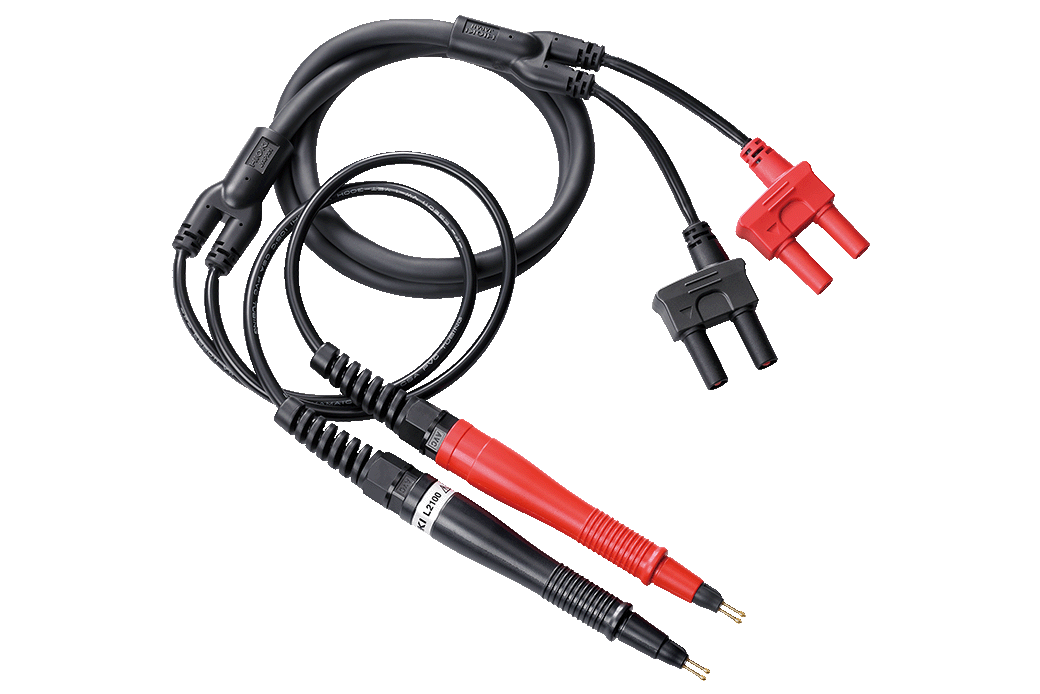
A: 300 mm (11.8 in.), B: 172 mm (6.8 in.), L: 1.4 m (4.6 ft.), 1000 V DC
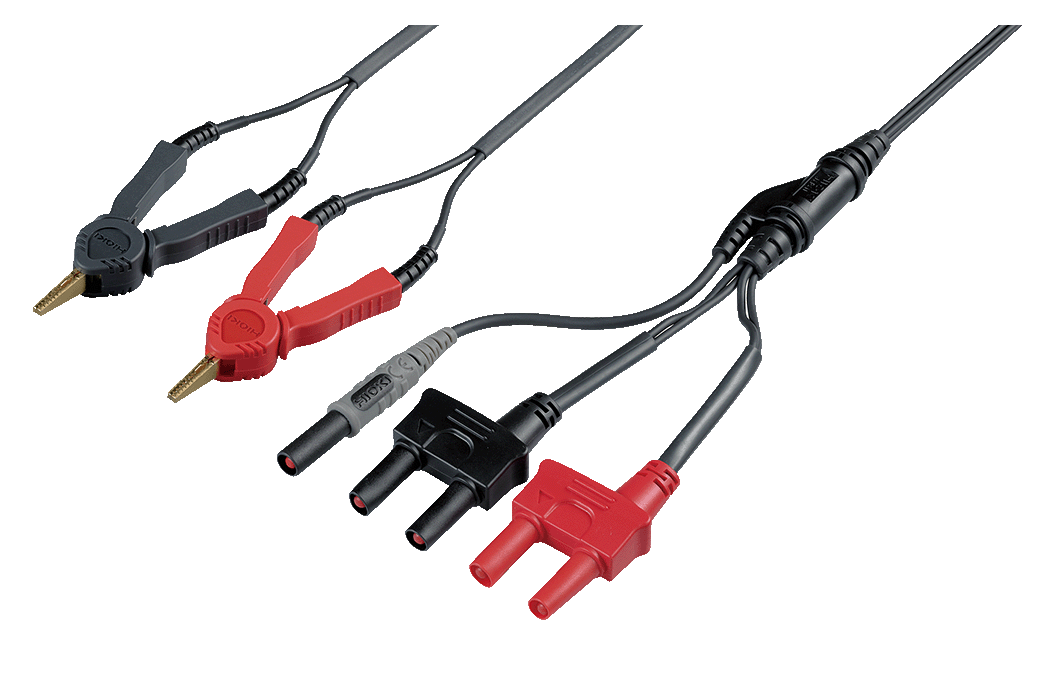
A: 250 mm (9.84 in), B:84 mm (3.31 in), L:1.5 m (4.92 ft), 60 V DC
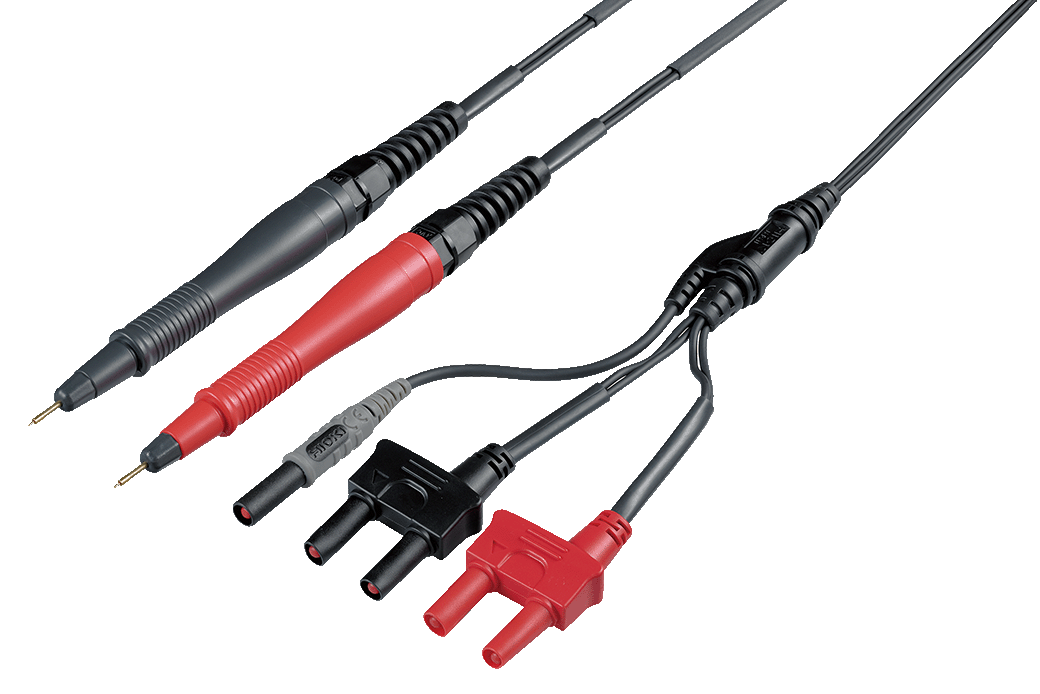
A: 250 mm (9.84 in), B:178 mm (7.01 in), L:1.5 m (4.92 ft), 60 V DC
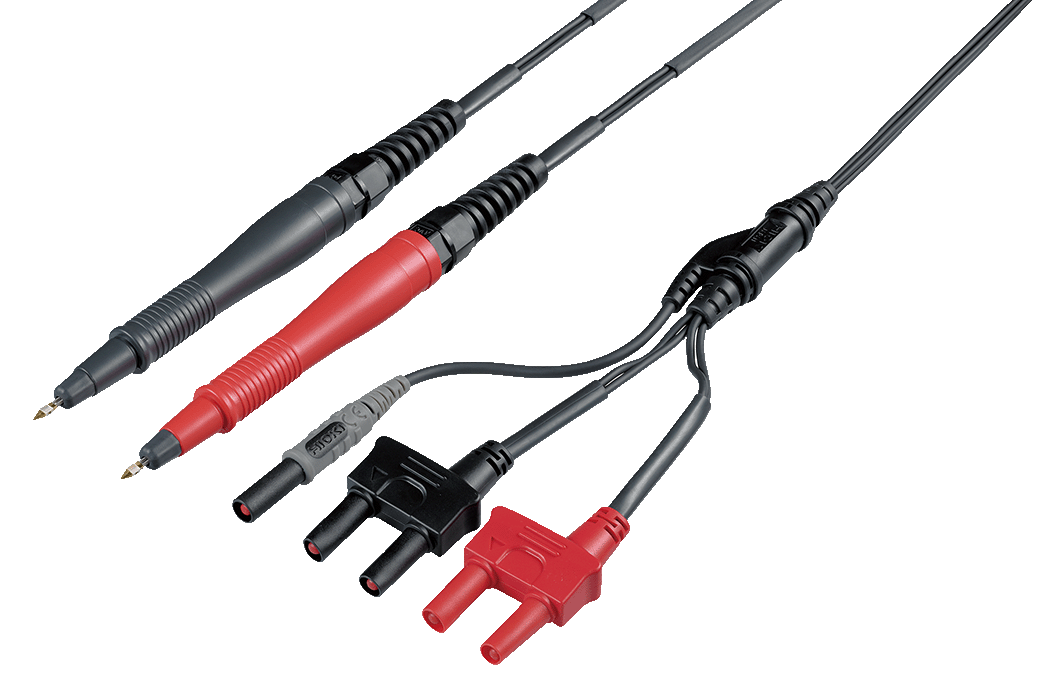
A: 250 mm (9.84 in), B:176 mm (6.93 in), L:1.5 m (4.92 ft), 60 V DC
A:1215 mm (47.83 in), B:73.5 mm (2.89 in), L:1.5 m (4.92 ft)
A:1120 mm (44.09in), B:84 mm (3.31 in), L:1.5 m (4.92 ft)
PC Communication (3)
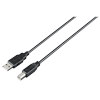
1 m
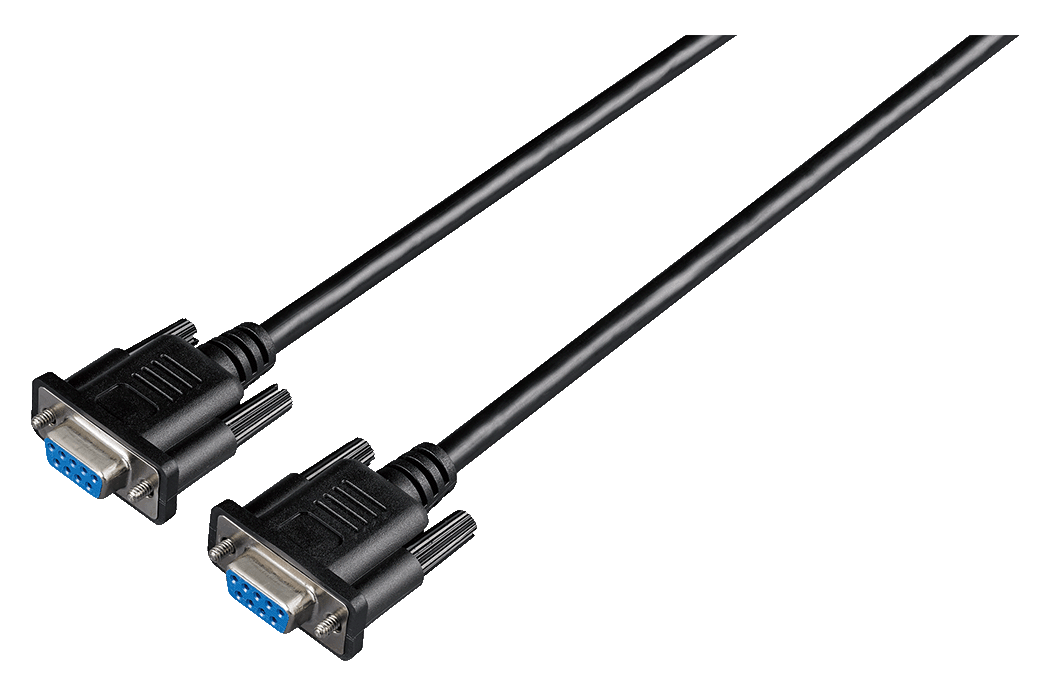
• For external control
• Double shielding
• 9-pin/9-pin, Cord length 3 m (9.8 ft.)
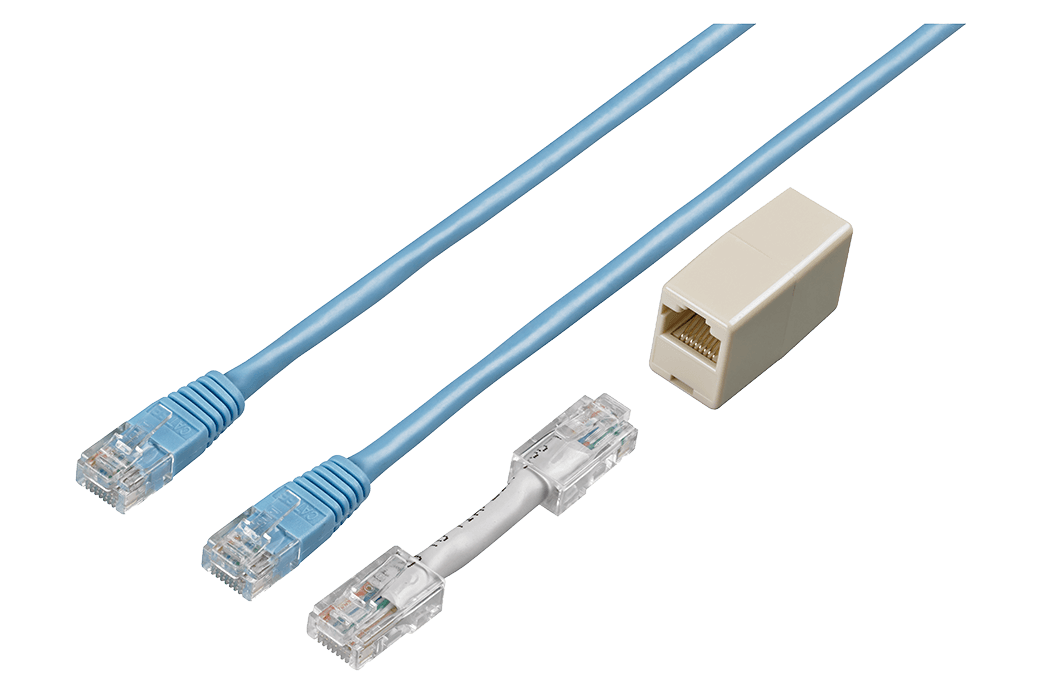
Straight Ethernet cable, supplied with straight-to-cross conversion adapter, 5 m (16.4 ft.)
Multichannel Options (3)
Z3003: Only compatible with RM3545A-2
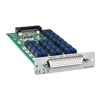
4-wire 10ch or 2-wire 21ch input scanning
Other Options (4)
Z2001 is included
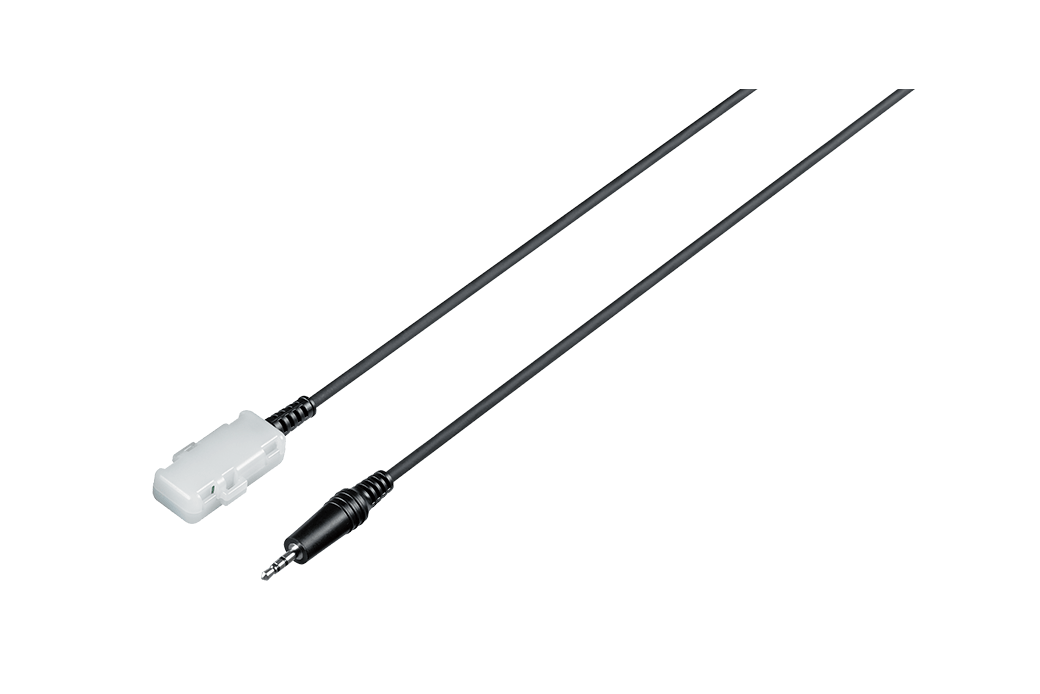
2 m (6.56 ft) length
1.75 m (5.74 ft) length
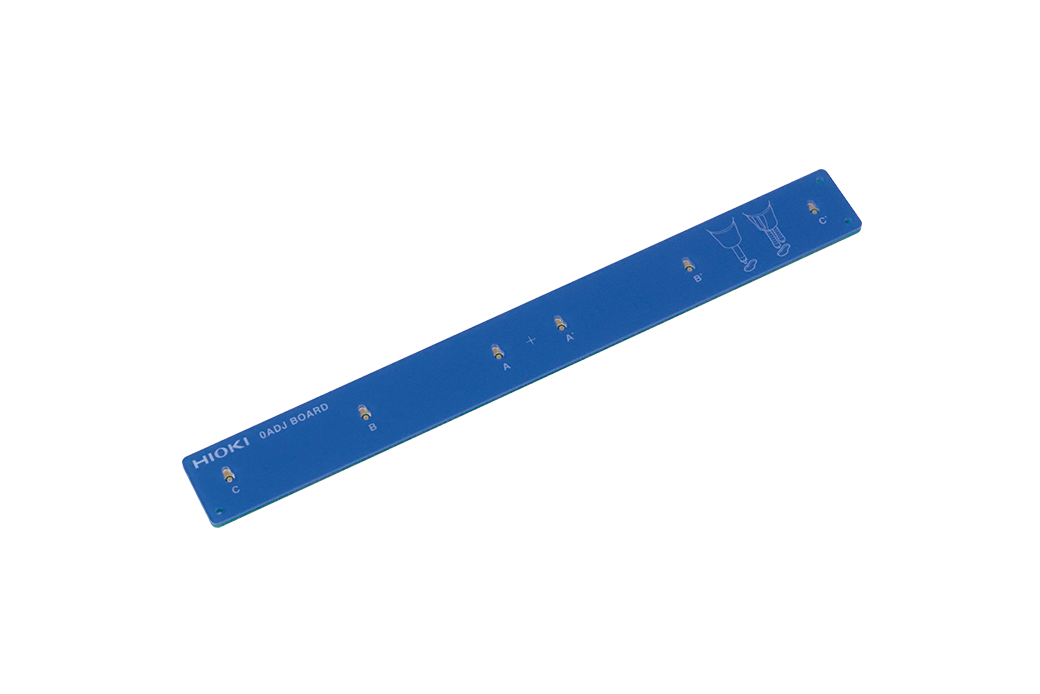
For models L2120, L2100, L2110, L2020, 9465-10, 9772

Replacement fuse set (1.6 A/250 V, 5 pieces)
- Mastering Probing for Accurate Low Resistance Measurements
- Measuring volume resistivity and surface resistivity of conductive materials using the four-point probe method
- Estimating the Length of Copper Wire
- Temperature Correction Using a Radiant Temperature Sensor for Measurement of the Resistance of Flat Enameled Wire
- AEC-Q200-compliant evaluation of the temperature of electronic components

